In this article, we will see how to install an autopilot on board a single-engine motorboat. In addition to the text, the tutorial includes a video where we will show you how to adjust the device after installation.
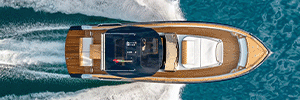
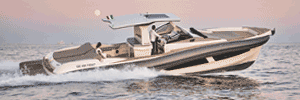
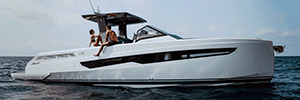
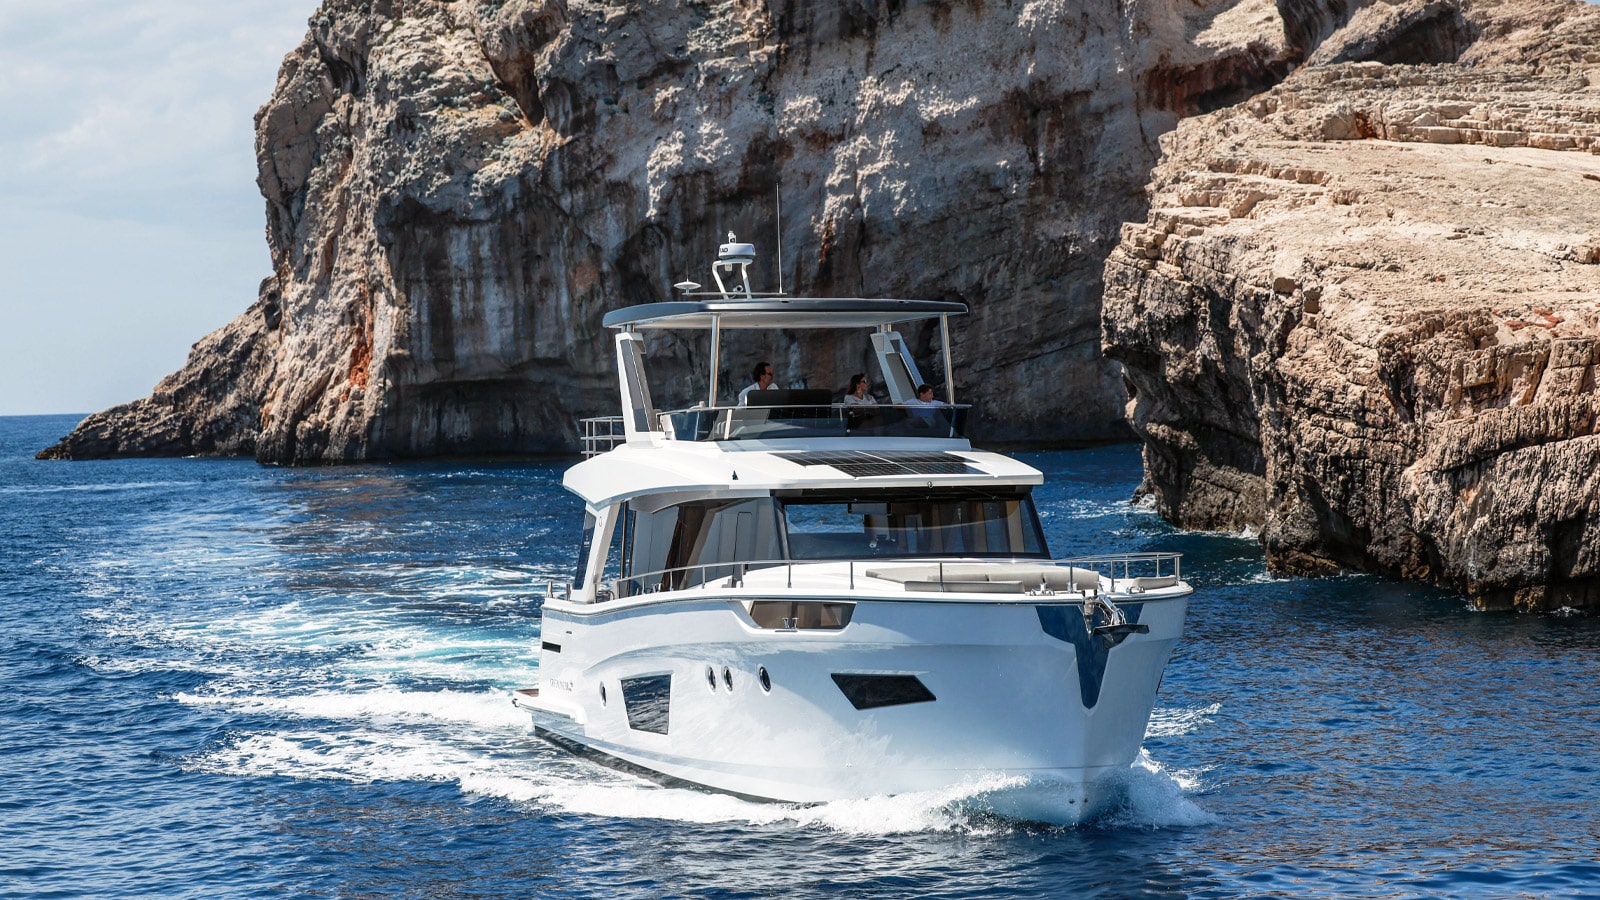
Today, our passion for onboard works, especially in heavy weather, leads us to install an autopilot on a 21-foot outboard-powered fisherman.
We had already mounted a Raymarine A78 multifunction display, an excellent and highly user-friendly device but for all those who, like us, love solo navigation, an autopilot can be a good extra for your boat electronic equipment. An essential instrument both when you drop your baits and when you need to stabilize your course every time you use your boat in recreational mode.


In order to better understand what we are talking about, let’s start from the actuator mounting. This component should be high-quality and appropriate to your boat engine. Our test boat features a single-piston hydraulically-assisted steering system equipped with no oil holding tank.
The rudder is internally connected to the steering gear by three connections: two high-pressure lateral ones and a drain central one. The first thing to do is to join two sections of the above-mentioned lateral connections that contain a T-fitting for both the actuator and the astern hydraulically-assisted steering system (see picture below).
If you prefer, before this first step, you can transfer some used oil with a measuring container in order to understand how much liquid is in the circuit. If you don’t have this container, you can even weight your oil.
Fittings are generally included in the standard mounting kits commonly available on the market; sometimes, however, a specialist garage is required because the distance to the actuator is not compatible with the standard kit. Since it has no pressure, the drain tube features a single passage between the actuator and the central fitting.

Once all connections are ok, you can put the oil in the circuit again and if, like in our case, your boat is equipped with a “Seastar” hydraulically-operated steering system, it is highly recommended to use a specific oil.
As for electric connections, in addition to power supply ( 12V, in our case), the battery and the actuator should be connected by special cables with a diameter of at least 6 mm in order to prevent any current leakage.
Moreover, don’t forget to install your display control unit, the box and the EV unit of your digital compass so that the autopilot system can interact with the multifunction display. As recommended by Raymarine, the box should be mounted vertically.

In order to get the best experience of your Raymarine devices, we recommend you use the latest version of the Ligth House 3 operational system.
At this point, you just have to see the video below and see how we installed and adjusted our device.
Enjoy it!
https://www.facebook.com/tuttobarche/videos/1878999222119096/